DeepSeek R1 has made a significant impact with its performance and open-source nature. Whether you're a B2B or B2C business, adopting AI is more crucial now than ever. Are you ready? This series of guides walks you through building a CRM and integrating DeepSeek R1, complete with practical use cases.
So here we are: Chapter 1.
Prerequisites
Before diving in, it helps to have some experience with:
- Analytical thinking
- Linux (we’ll be using Fedora, but any distribution will work. If you’re on Windows, good luck!)
- Basic skills in Python, JavaScript and SQL
Tools we will use
- Budibase for our CRM development.
- Docker for installing Budibase.
- Open WebUI for our chat interface with DeepSeek.
- Visual Studio Code for Python and JavaScript.
Setting up Budibase
Start by creating a folder for Budibase and navigating to it:
mkdir budibase
cd budibase

# If you don't have Docker installed yet, run:
sudo dnf update
sudo dnf install docker-ce docker-ce-cli containerd.io docker-buildx-plugin docker-compose-plugin
sudo systemctl start docker
sudo systemctl enable docker

# For Ubuntu-based distros you can use apt
Next, following the Budibase documentation, create a docker-compose.yaml file:
nano docker-compose.yamlCreate a .env file for your credentials by downloading it from: raw.githubusercontent.com/Budibase/budibase/master/hosting/.env
Create a database for Budibase using MySQL:
sudo mysql -u root -p
CREATE DATABASE budibase;
SHOW DATABASES;
CREATE USER 'username'@'localhost' IDENTIFIED BY 'userpassword';
GRANT ALL PRIVILEGES ON budibase.* TO 'username'@'192.168.100/24';
FLUSH PRIVILEGES;
I used 192.168.100.5 because I'm connecting to my database from outside of 127.0.0.1.
Building the CRM
Now it's time to get our hands dirty.
Log in to Budibase by navigating to either localhost:10000 or (in my case) 192.168.100.5:10000.
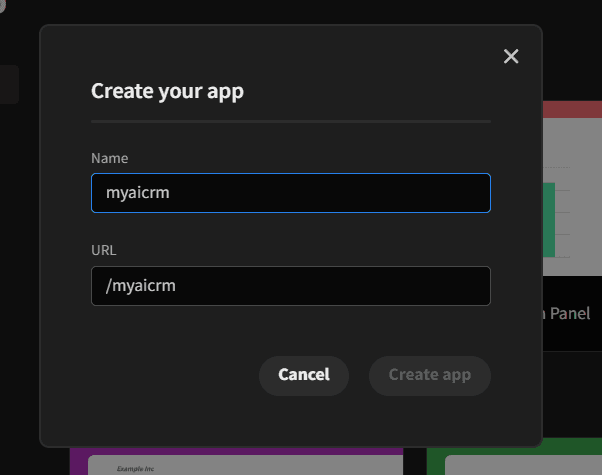
- 01Create our first app.
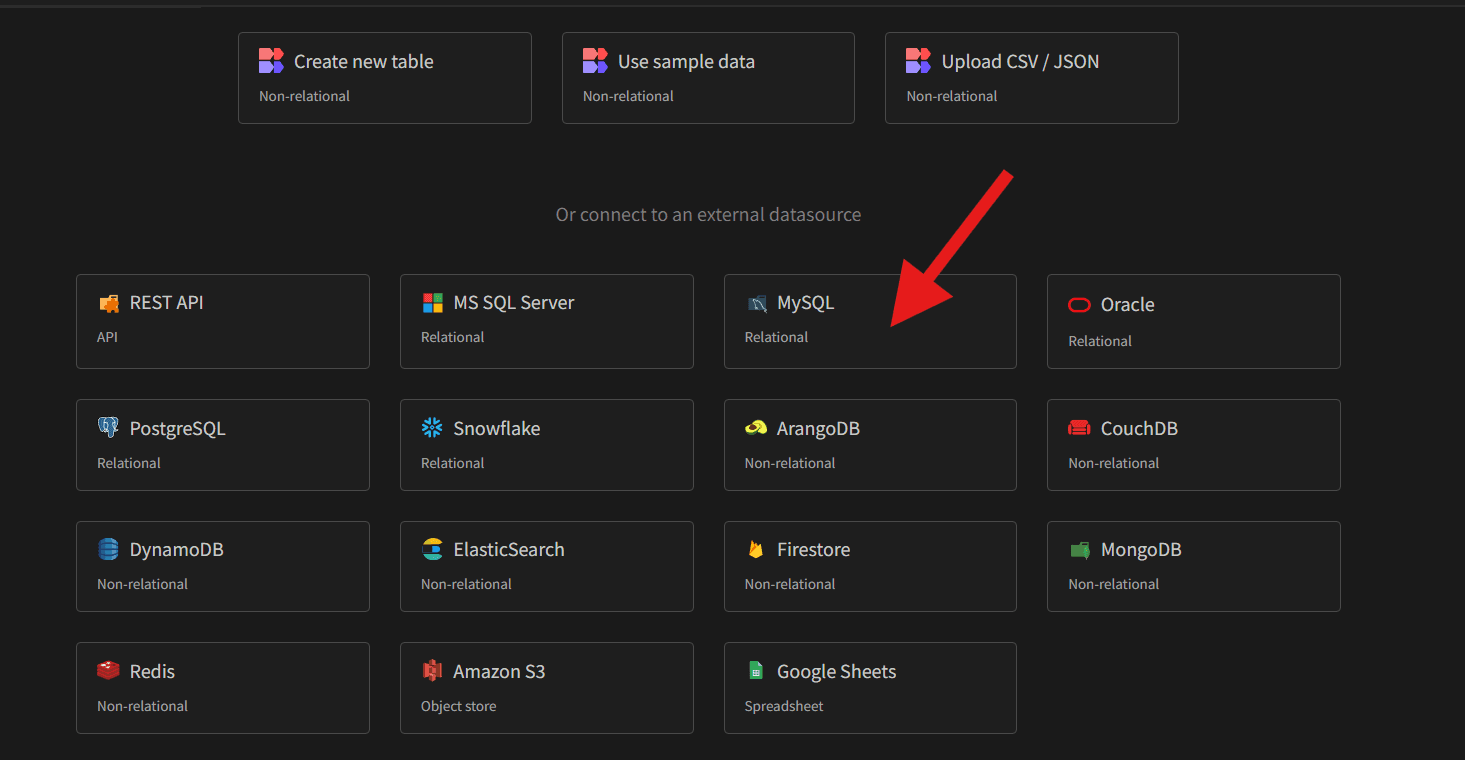
- 01Connect to the database you created earlier.
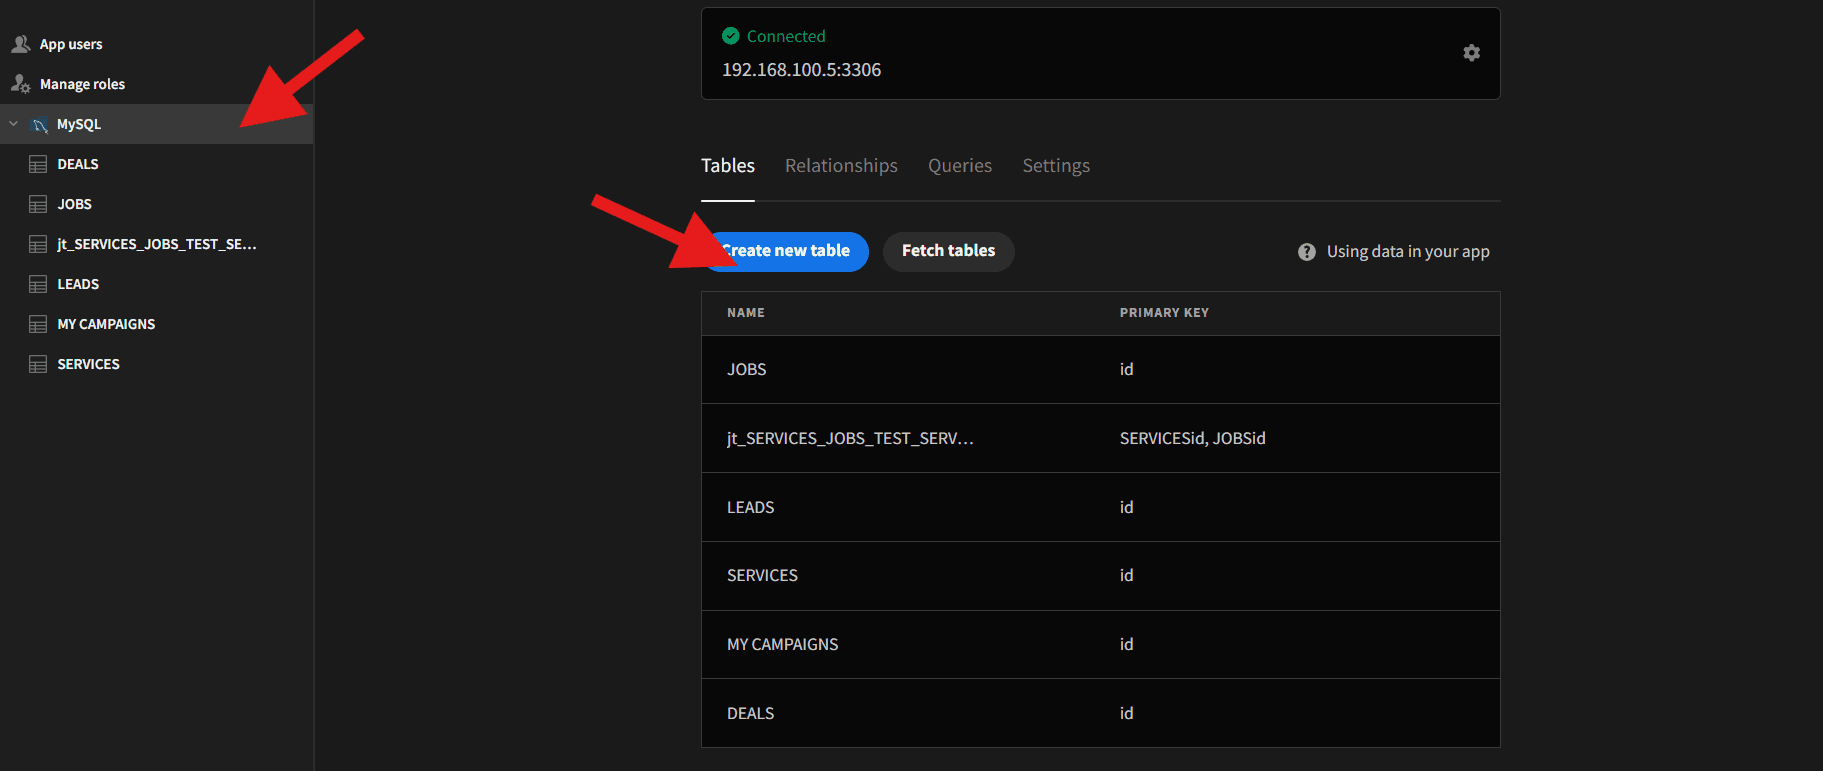
- 01Create the following tables.
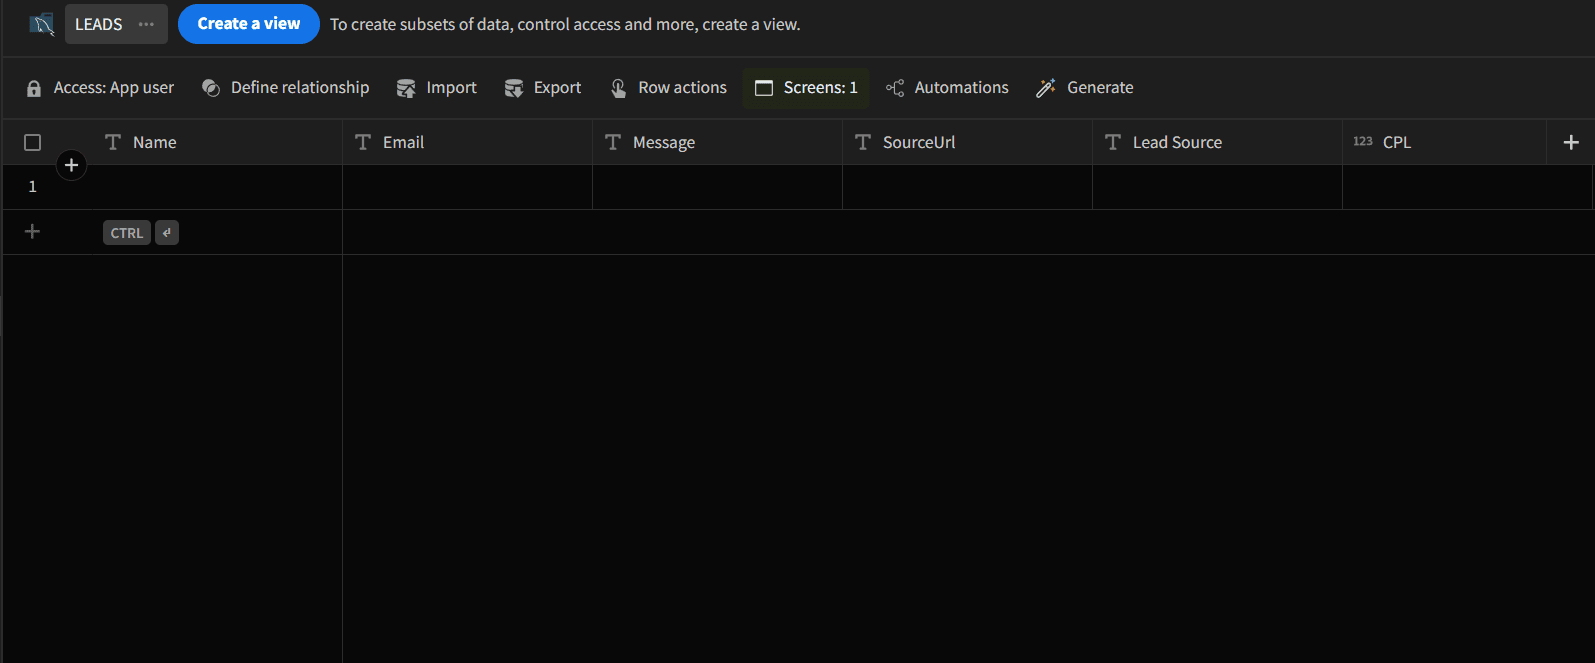
Working on the LEADS table
For now, the LEADS table has the following structure:
Data flow
You'll need to set up your own data flow. Here's how I handle it.
The contact form sends data to my CRM using a REST API. You can learn more about this process here: Send Form Data to API.
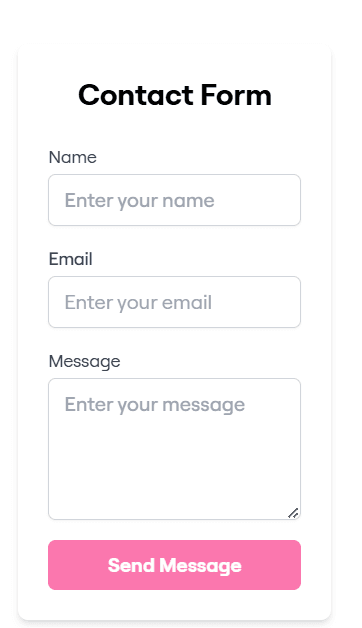
When the user clicks the Send Message button, the data is sent to the CRM, and I also capture the user's source URL from a cookie. This step is crucial for analysing our campaigns' performance.
So my LEADS table includes the following columns:
Name, Email, Message, SourceUrl, Lead Source, CPL, ClickidType, Clickid, utm_source, utm_medium, utm_campaign, utm_term, utm_content
Using the data from SourceUrl, we automatically populate the following fields:
Lead Source, CPL, ClickidType, Clickid, utm_source, utm_medium, utm_campaign, utm_term, utm_content
Scenario: putting it all together
Imagine we’re a startup specialising in:
- AI-powered business solutions
- Automation workflows
- Custom CRM development
- Digital marketing services
- Web development
Our goal is to reach new customers and build awareness for our product. Our budget is limited compared to competitors (Salesforce, HubSpot and so on), but I found a loophole:
- 01None of them are taking advantage of the buzz around DeepSeek.
- 02Privacy and ecosystem concerns: I give customers full control over the software by providing an open-source project. They decide where to host the app: locally, in the cloud, or even with another provider (for example Google Gemini).
Based on this foundation, I'll launch a series of ads across Google, Facebook and TikTok, A/B testing them for the best possible outcome.
Now suppose we have set up search, display and YouTube ads through Google. Leads begin coming into our CRM. So what's next?

Notice the SourceUrl, for example:
https://kziridis.com/?gclid=Cj0KCQjw18r4BRD_ARIsADl_7Qc712x9j8yWzUoVmBt4X9z3a5bc6de7fgh8ij90klmn6opqr23
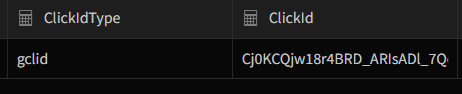
We need to extract the click ID type (gclid, fbclid, ttclid) and its value. For the ClickidType column, I use this basic JavaScript formula:
try {
  const url = $("SourceUrl");
  if (!url) return "not found";

  const regex = /[?&](gclid|ttclid|fbclid)=([^&]*)/;
  const match = url.match(regex);

  if (match) {
    return match[1];
  } else {
    return "not found";
  }
} catch (error) {
  return "not found";
}
The code for the Clickid column is similar:
try {
  const url = $("SourceUrl");
  if (!url) return "not found";

  const regex = /[?&](gclid|ttclid|fbclid)=([^&]*)/;
  const match = url.match(regex);

  return match ? match[2] : "not found";
} catch (error) {
  return "not found";
}
Now our table populates the necessary columns automatically:
Integrating DeepSeek R1
Let’s start using our powerhouse, DeepSeek R1.
- 01Install Ollama and Open WebUI. I won't cover this in detail since guides are already available; a quick search or a chat with Google AI Studio should help.
- 02Use the model
deepseek-r1:7b.
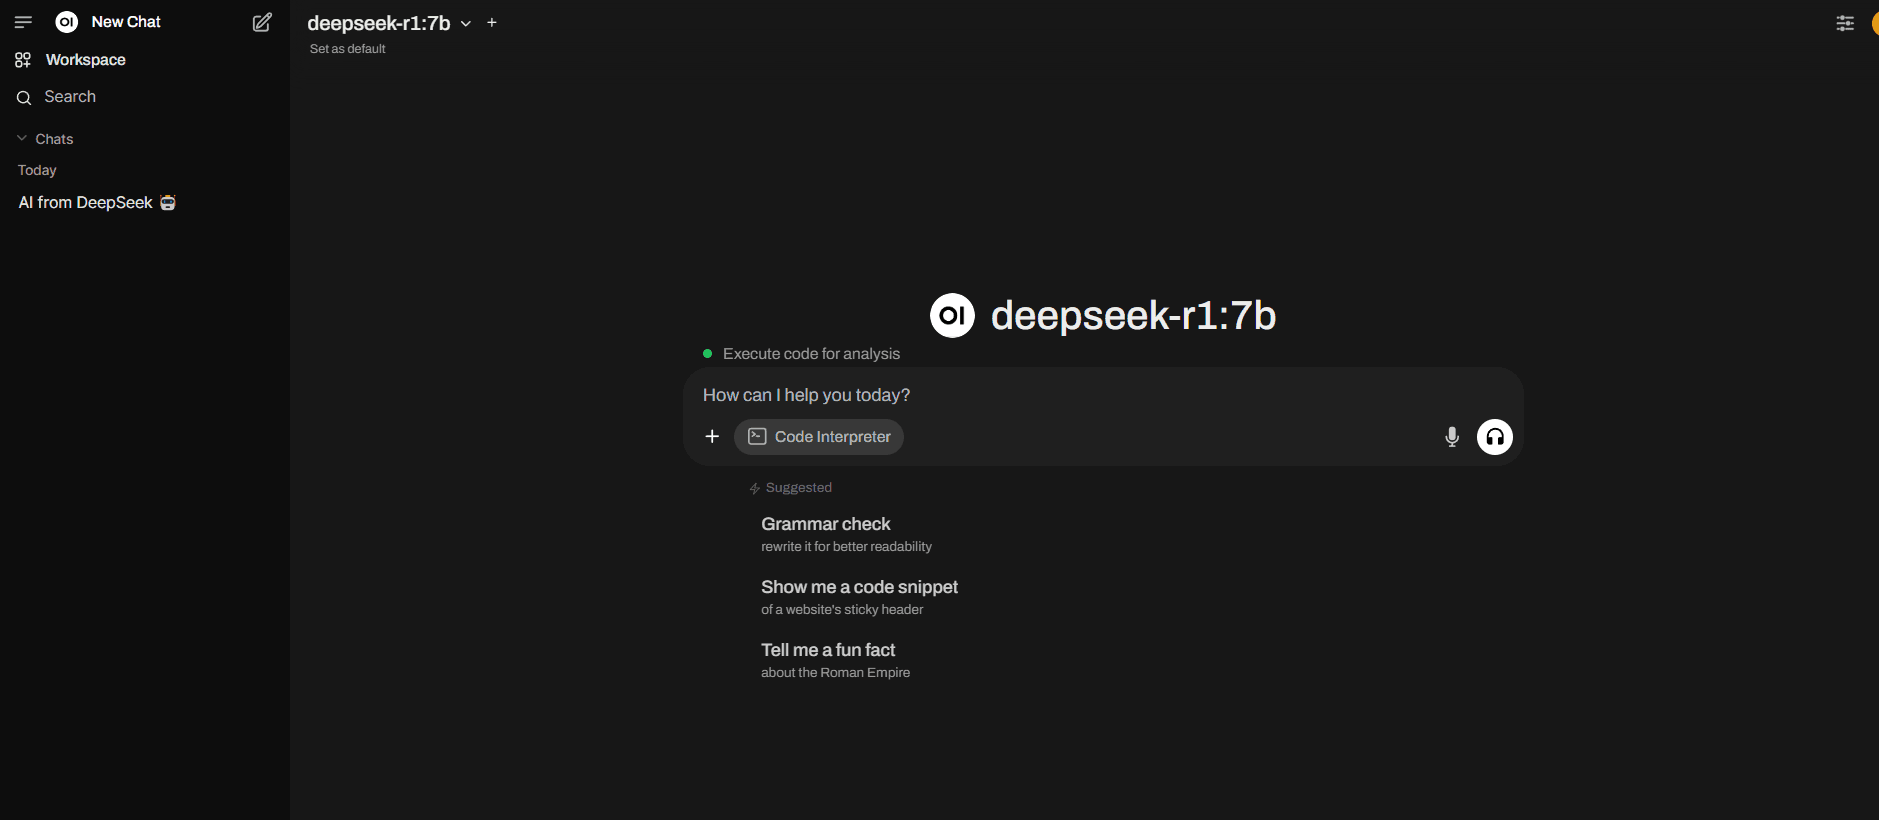
After setting up Open WebUI and Ollama, you should see a screen like this:
Bridging our CRM with the AI agent
Before connecting the AI to our CRM, it’s important to understand how AI works when it is integrated into software. If you chat with DeepSeek about our CRM without context, it won’t give accurate answers.
How do we create context?
- 01Define the purpose of the AI. In our case, since we focus on performance and data-driven insights, it will help us write complex SQL queries and analyse data.
- 02Use a helper table to automate creating the system prompt.
For example, run this query in MySQL:
SELECT *
FROM
    LEADS;
Then transform the result into a system prompt:
const firstRow = data[0];
let systemPrompt = "You are a helpful assistant providing information about the LEADS table in a CRM database. ";
systemPrompt += "LEADS Table Schema: ";

for (const columnName in firstRow) {
  const columnValue = firstRow[columnName];
  const columnType = typeof columnValue; // Attempt to infer the type

  systemPrompt += ` - ${columnName} (${columnType}) `;
}

systemPrompt += "Instructions: Use the above database information to answer questions in short sentences. ";

transformedValue = systemPrompt;
return transformedValue;
When you run this code, you should receive a system prompt like:
"value": "You are a helpful assistant providing information about the LEADS table in a CRM database. LEADS Table Schema: - id (number) - Name (string) - Email (string) - Message (string) - Lead Source (object) - SourceUrl (string) - utm_source (object) - utm_medium (object) - utm_campaign (object) - utm_term (object) - utm_content (object) - CPL (object) - Status (string) - Date Created (string) - date (string) Instructions: Use the above database information to answer questions in short sentences."When I asked the AI “Which campaigns perform the best?”, it responded with:
To identify the best performing UTM campaigns based on CPL, you can use the following SQL query. This query assumes you have a table named UTM CAMPAIGNS with columns for utm_source, utm_medium...
WITH CampaignPerformance AS (
    SELECT
        utm_source AS source,
        utm_medium AS medium,
        utm_campaign AS campaign,
        AVG(cpl) AS avg_cpl
    FROM UTM CAMPAIGNS
    GROUP BY utm_source, utm_medium, utm_campaign
),
LeadCountPerCampaign AS (
    SELECT
        utm_campaign AS campaign,
        COUNT(*) AS lead_count
    FROM UTM CAMPAIGNS
    GROUP BY utm_campaign
)
SELECT
    cp.source,
    cp.medium,
    cp.campaign,
    cp.avg_cpl,
    lc.lead_count
FROM CampaignPerformance CP
JOIN LeadCountPerCampaign LC ON CP.campaign = LC.campaign
ORDER BY cp.avg_cpl DESC, lc.lead_count DESC;
The code looks decent, but the answer could be much better with a refined system prompt. For now, this is where our chapter ends.
What comes next
In the next chapter, we will:
- Automate getting the system prompt for the AI (no more copy and pasting).
- Extend the CRM with Python, since Budibase supports JavaScript but it is sandboxed.
- Fetch CPL automatically using the Google Ads, Facebook or TikTok APIs.
- Set up our campaigns tables by fetching CPL along with campaign details.
- Tune the system prompt to get the best possible answers for our needs.
This was my first blog post, and I hope you found it useful. Thank you for your time, and see you in the next chapter.